WPF Samples中的示例
在WPF Samples中有一个关于Grouping的Demo。
该Demo结构如下:

MainWindow.xaml如下:
<Window x:Class="Grouping.MainWindow" xmlns="http://schemas.microsoft.com/winfx/2006/xaml/presentation" xmlns:x="http://schemas.microsoft.com/winfx/2006/xaml" xmlns:d="http://schemas.microsoft.com/expression/blend/2008" xmlns:mc="http://schemas.openxmlformats.org/markup-compatibility/2006" xmlns:local="clr-namespace:Grouping" mc:Ignorable="d" Title="MainWindow" Height="350" Width="525" SizeToContent="Height"> <StackPanel> <StackPanel.Resources> <XmlDataProvider x:Key="MyTasks" XPath="Tasks/Task"> <x:XData> <Tasks xmlns=""> <Task Name="Groceries" Priority="2" Type="Home"> <Description>Pick up Groceries and Detergent</Description> </Task> <Task Name="Laundry" Priority="2" Type="Home"> <Description>Do Laundry</Description> </Task> <Task Name="Email" Priority="1" Type="Work"> <Description>Email Clients</Description> </Task> <Task Name="Clean" Priority="3" Type="Work"> <Description>Clean my office</Description> </Task> <Task Name="Dinner" Priority="1" Type="Home"> <Description>Get ready for family reunion</Description> </Task> <Task Name="Proposals" Priority="2" Type="Work"> <Description>Review new budget proposals</Description> </Task> </Tasks> </x:XData> </XmlDataProvider> </StackPanel.Resources> <TextBlock Margin="12,5,5,0" FontSize="20" Text="My Task List"/> <CheckBox Margin="10,5,5,10" Checked="AddGrouping" Unchecked="RemoveGrouping">Group by task type</CheckBox> <ItemsControl Margin="10" Name="myItemsControl" ItemsSource="{Binding Source={StaticResource MyTasks}}"> <ItemsControl.ItemTemplate> <DataTemplate> <DataTemplate.Resources> <Style TargetType="TextBlock"> <Setter Property="FontSize" Value="18"/> <Setter Property="HorizontalAlignment" Value="Center"/> </Style> </DataTemplate.Resources> <Grid> <Ellipse Fill="Silver"/> <StackPanel> <TextBlock Margin="3,3,3,0" Text="{Binding XPath=@Name}"/> <TextBlock Margin="3,0,3,7" Text="{Binding XPath=@Priority}"/> </StackPanel> </Grid> </DataTemplate> </ItemsControl.ItemTemplate> <ItemsControl.ItemContainerStyle> <Style> <Setter Property="Control.Width" Value="100"/> <Setter Property="Control.Margin" Value="5"/> </Style> </ItemsControl.ItemContainerStyle> <ItemsControl.GroupStyle> <GroupStyle> <GroupStyle.HeaderTemplate> <DataTemplate> <TextBlock FontWeight="Bold" FontSize="15" Text="{Binding Path=Name}"/> </DataTemplate> </GroupStyle.HeaderTemplate> </GroupStyle> </ItemsControl.GroupStyle> </ItemsControl> </StackPanel></Window>
其中:
<StackPanel.Resources> <XmlDataProvider x:Key="MyTasks" XPath="Tasks/Task"> <x:XData> <Tasks xmlns=""> <Task Name="Groceries" Priority="2" Type="Home"> <Description>Pick up Groceries and Detergent</Description> </Task> <Task Name="Laundry" Priority="2" Type="Home"> <Description>Do Laundry</Description> </Task> <Task Name="Email" Priority="1" Type="Work"> <Description>Email Clients</Description> </Task> <Task Name="Clean" Priority="3" Type="Work"> <Description>Clean my office</Description> </Task> <Task Name="Dinner" Priority="1" Type="Home"> <Description>Get ready for family reunion</Description> </Task> <Task Name="Proposals" Priority="2" Type="Work"> <Description>Review new budget proposals</Description> </Task> </Tasks> </x:XData> </XmlDataProvider> </StackPanel.Resources>
使用XmlDataProvider来加载和绑定XML数据。
<ItemsControl Margin="10" Name="myItemsControl" ItemsSource="{Binding Source={StaticResource MyTasks}}">
将MyTasks绑定到ItemsControl。
<DataTemplate> <DataTemplate.Resources> <Style TargetType="TextBlock"> <Setter Property="FontSize" Value="18"/> <Setter Property="HorizontalAlignment" Value="Center"/> </Style> </DataTemplate.Resources> <Grid> <Ellipse Fill="Silver"/> <StackPanel> <TextBlock Margin="3,3,3,0" Text="{Binding XPath=@Name}"/> <TextBlock Margin="3,0,3,7" Text="{Binding XPath=@Priority}"/> </StackPanel> </Grid> </DataTemplate>
设置数据模板。
跟本次介绍的主题Grouping有关的内容如下:
<ItemsControl.GroupStyle> <GroupStyle> <GroupStyle.HeaderTemplate> <DataTemplate> <TextBlock FontWeight="Bold" FontSize="15" Text="{Binding Path=Name}"/> </DataTemplate> </GroupStyle.HeaderTemplate> </GroupStyle> </ItemsControl.GroupStyle>

ItemsControl.GroupStyle获取定义每个级别的组的外观的 GroupStyle 对象集合。
GroupStyle如下所示:
public class GroupStyle : INotifyPropertyChanged { public static readonly ItemsPanelTemplate DefaultGroupPanel; public GroupStyle(); public static GroupStyle Default { get; } [DefaultValue(0)] public int AlternationCount { get; set; } [DefaultValue(null)] public Style ContainerStyle { get; set; } [DefaultValue(null)] public StyleSelector ContainerStyleSelector { get; set; } [DefaultValue(null)] public string HeaderStringFormat { get; set; } [DefaultValue(null)] public DataTemplate HeaderTemplate { get; set; } [DefaultValue(null)] public DataTemplateSelector HeaderTemplateSelector { get; set; } [DefaultValue(false)] public bool HidesIfEmpty { get; set; } public ItemsPanelTemplate Panel { get; set; } protected event PropertyChangedEventHandler PropertyChanged; protected virtual void OnPropertyChanged(PropertyChangedEventArgs e); }}
这里设置了GroupStyle.HeaderTemplate,这个元素定义了分组头的数据模板。数据模板决定了分组头的具体显示方式。
<TextBlock FontWeight="Bold" FontSize="15" Text="{Binding Path=Name}"/>
这里的Name指的是CollectionViewGroup 类的Name属性。

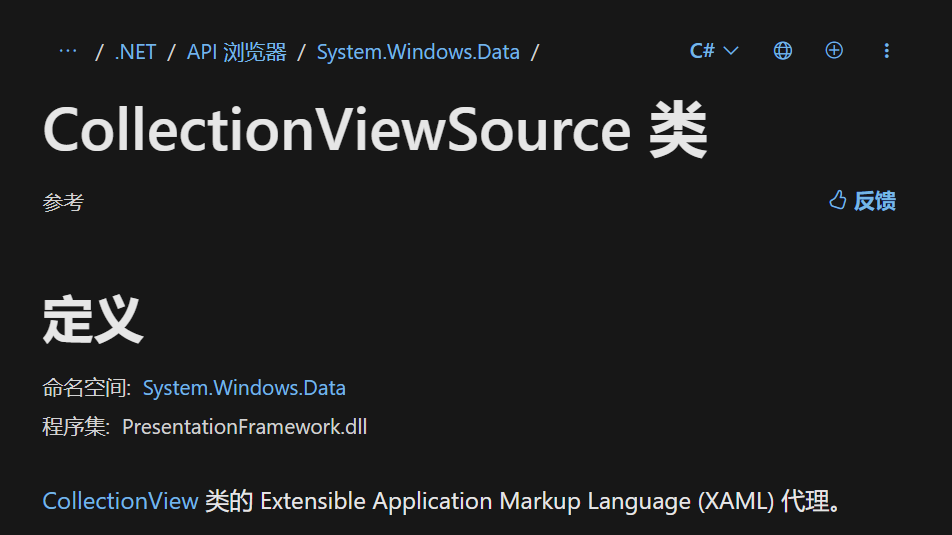
CollectionViewGroup 类表示根据 GroupDescriptions 由 CollectionView 对象创建的组。
MainWindow.cs如下:
public partial class MainWindow : Window { private CollectionView _myView; public MainWindow() { InitializeComponent(); } private void AddGrouping(object sender, RoutedEventArgs e) { _myView = (CollectionView) CollectionViewSource.GetDefaultView(myItemsControl.ItemsSource); if (_myView.CanGroup) { var groupDescription = new PropertyGroupDescription("@Type"); _myView.GroupDescriptions.Add(groupDescription); } } private void RemoveGrouping(object sender, RoutedEventArgs e) { _myView = (CollectionView) CollectionViewSource.GetDefaultView(myItemsControl.ItemsSource); _myView.GroupDescriptions.Clear(); } }
只包含两个事件处理程序。
进行分组是这样写的:
private void AddGrouping(object sender, RoutedEventArgs e) { _myView = (CollectionView) CollectionViewSource.GetDefaultView(myItemsControl.ItemsSource); if (_myView.CanGroup) { var groupDescription = new PropertyGroupDescription("@Type"); _myView.GroupDescriptions.Add(groupDescription); } }
_myView = (CollectionView) CollectionViewSource.GetDefaultView(myItemsControl.ItemsSource);
虽然CollectionViewSource本身不是一个静态类,但它提供了一个静态方法GetDefaultView,这个方法用于获取与特定数据源关联的默认视图。这种设计允许开发者不必实例化CollectionViewSource对象就能访问和操作数据源的视图。

var groupDescription = new PropertyGroupDescription("@Type"); _myView.GroupDescriptions.Add(groupDescription);

PropertyGroupDescription类描述使用属性名作为条件对项进行分组。
使用的是这个构造函数:

= new PropertyGroupDescription("@Type");
在XML和XPath的上下文中,@符号用于引用元素的属性。
这样就实现了基于Type属性进行分组。
private void RemoveGrouping(object sender, RoutedEventArgs e) { _myView = (CollectionView) CollectionViewSource.GetDefaultView(myItemsControl.ItemsSource); _myView.GroupDescriptions.Clear(); }
取消分组将_myView.GroupDescriptions清空即可。
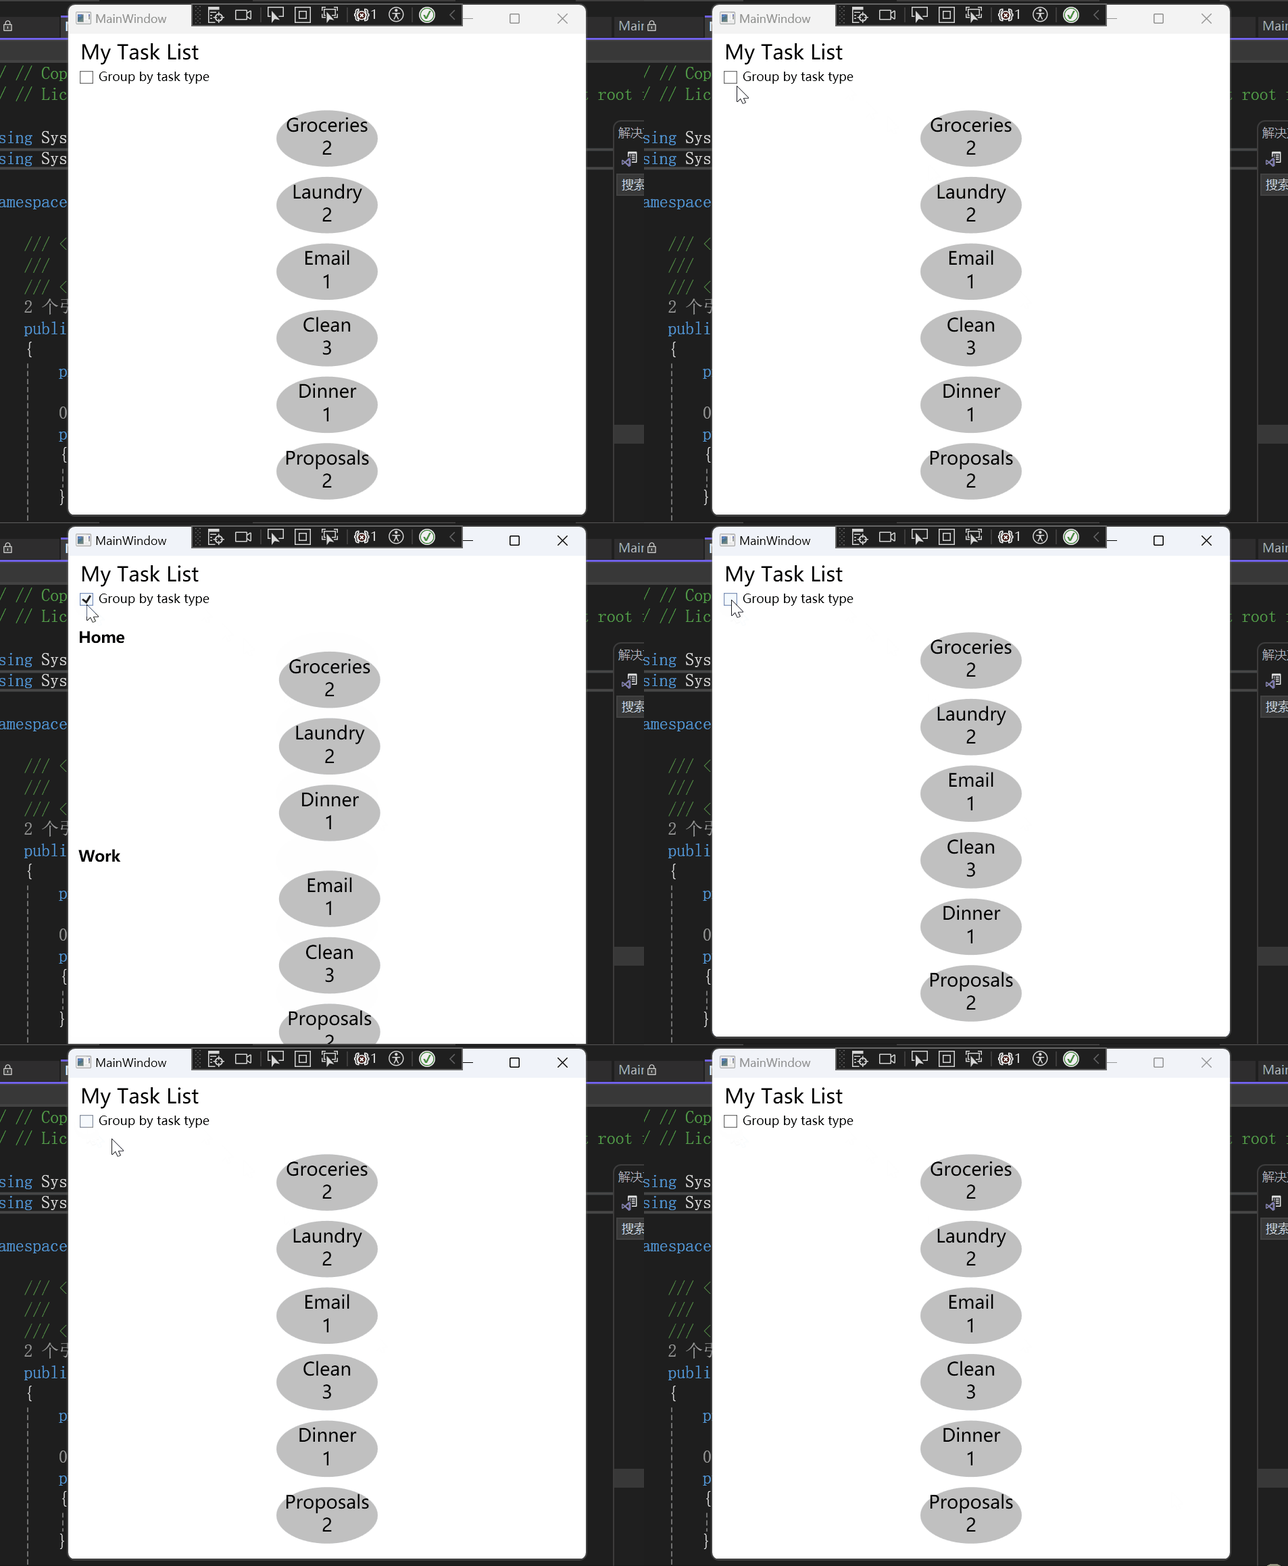
该Demo的效果如下:

分组前:

分组后:

代码来源
[WPF-Samples/Data Binding/Grouping at main · microsoft/WPF-Samples (github.com)]
欢迎关注微信公众号:DotNet学习交流。