
说明
- 操作系统:Windows 10
- Python 版本:3.7x
- 虚拟环境管理器:virtualenv
- 代码编辑器:VS Code
实验
环境初始化
# 创建项目目录mkdir helloworldcd helloworld# 创建虚拟环境python -m virtualenv venv# 激活虚拟环境venv\Scripts\activate# 安装环境包pip install flask flask-restplus# 启动 VS Codecode .
实验示例
Hello World
from flask import Flaskfrom flask_restplus import Api, Resourceapp = Flask(__name__)api_app = Api(app=app, version='1.0', title='Main', description='Main APIs')name_space = api_app.namespace(name='helloworld', description='The helloworld APIs EndPoint.')@name_space.route('/')class HelloWorld(Resource): def get(self): return { 'status': 'you get a request.' } def post(self): return { 'status': 'you post a request.' }if __name__ == "__main__": app.run(debug=True)
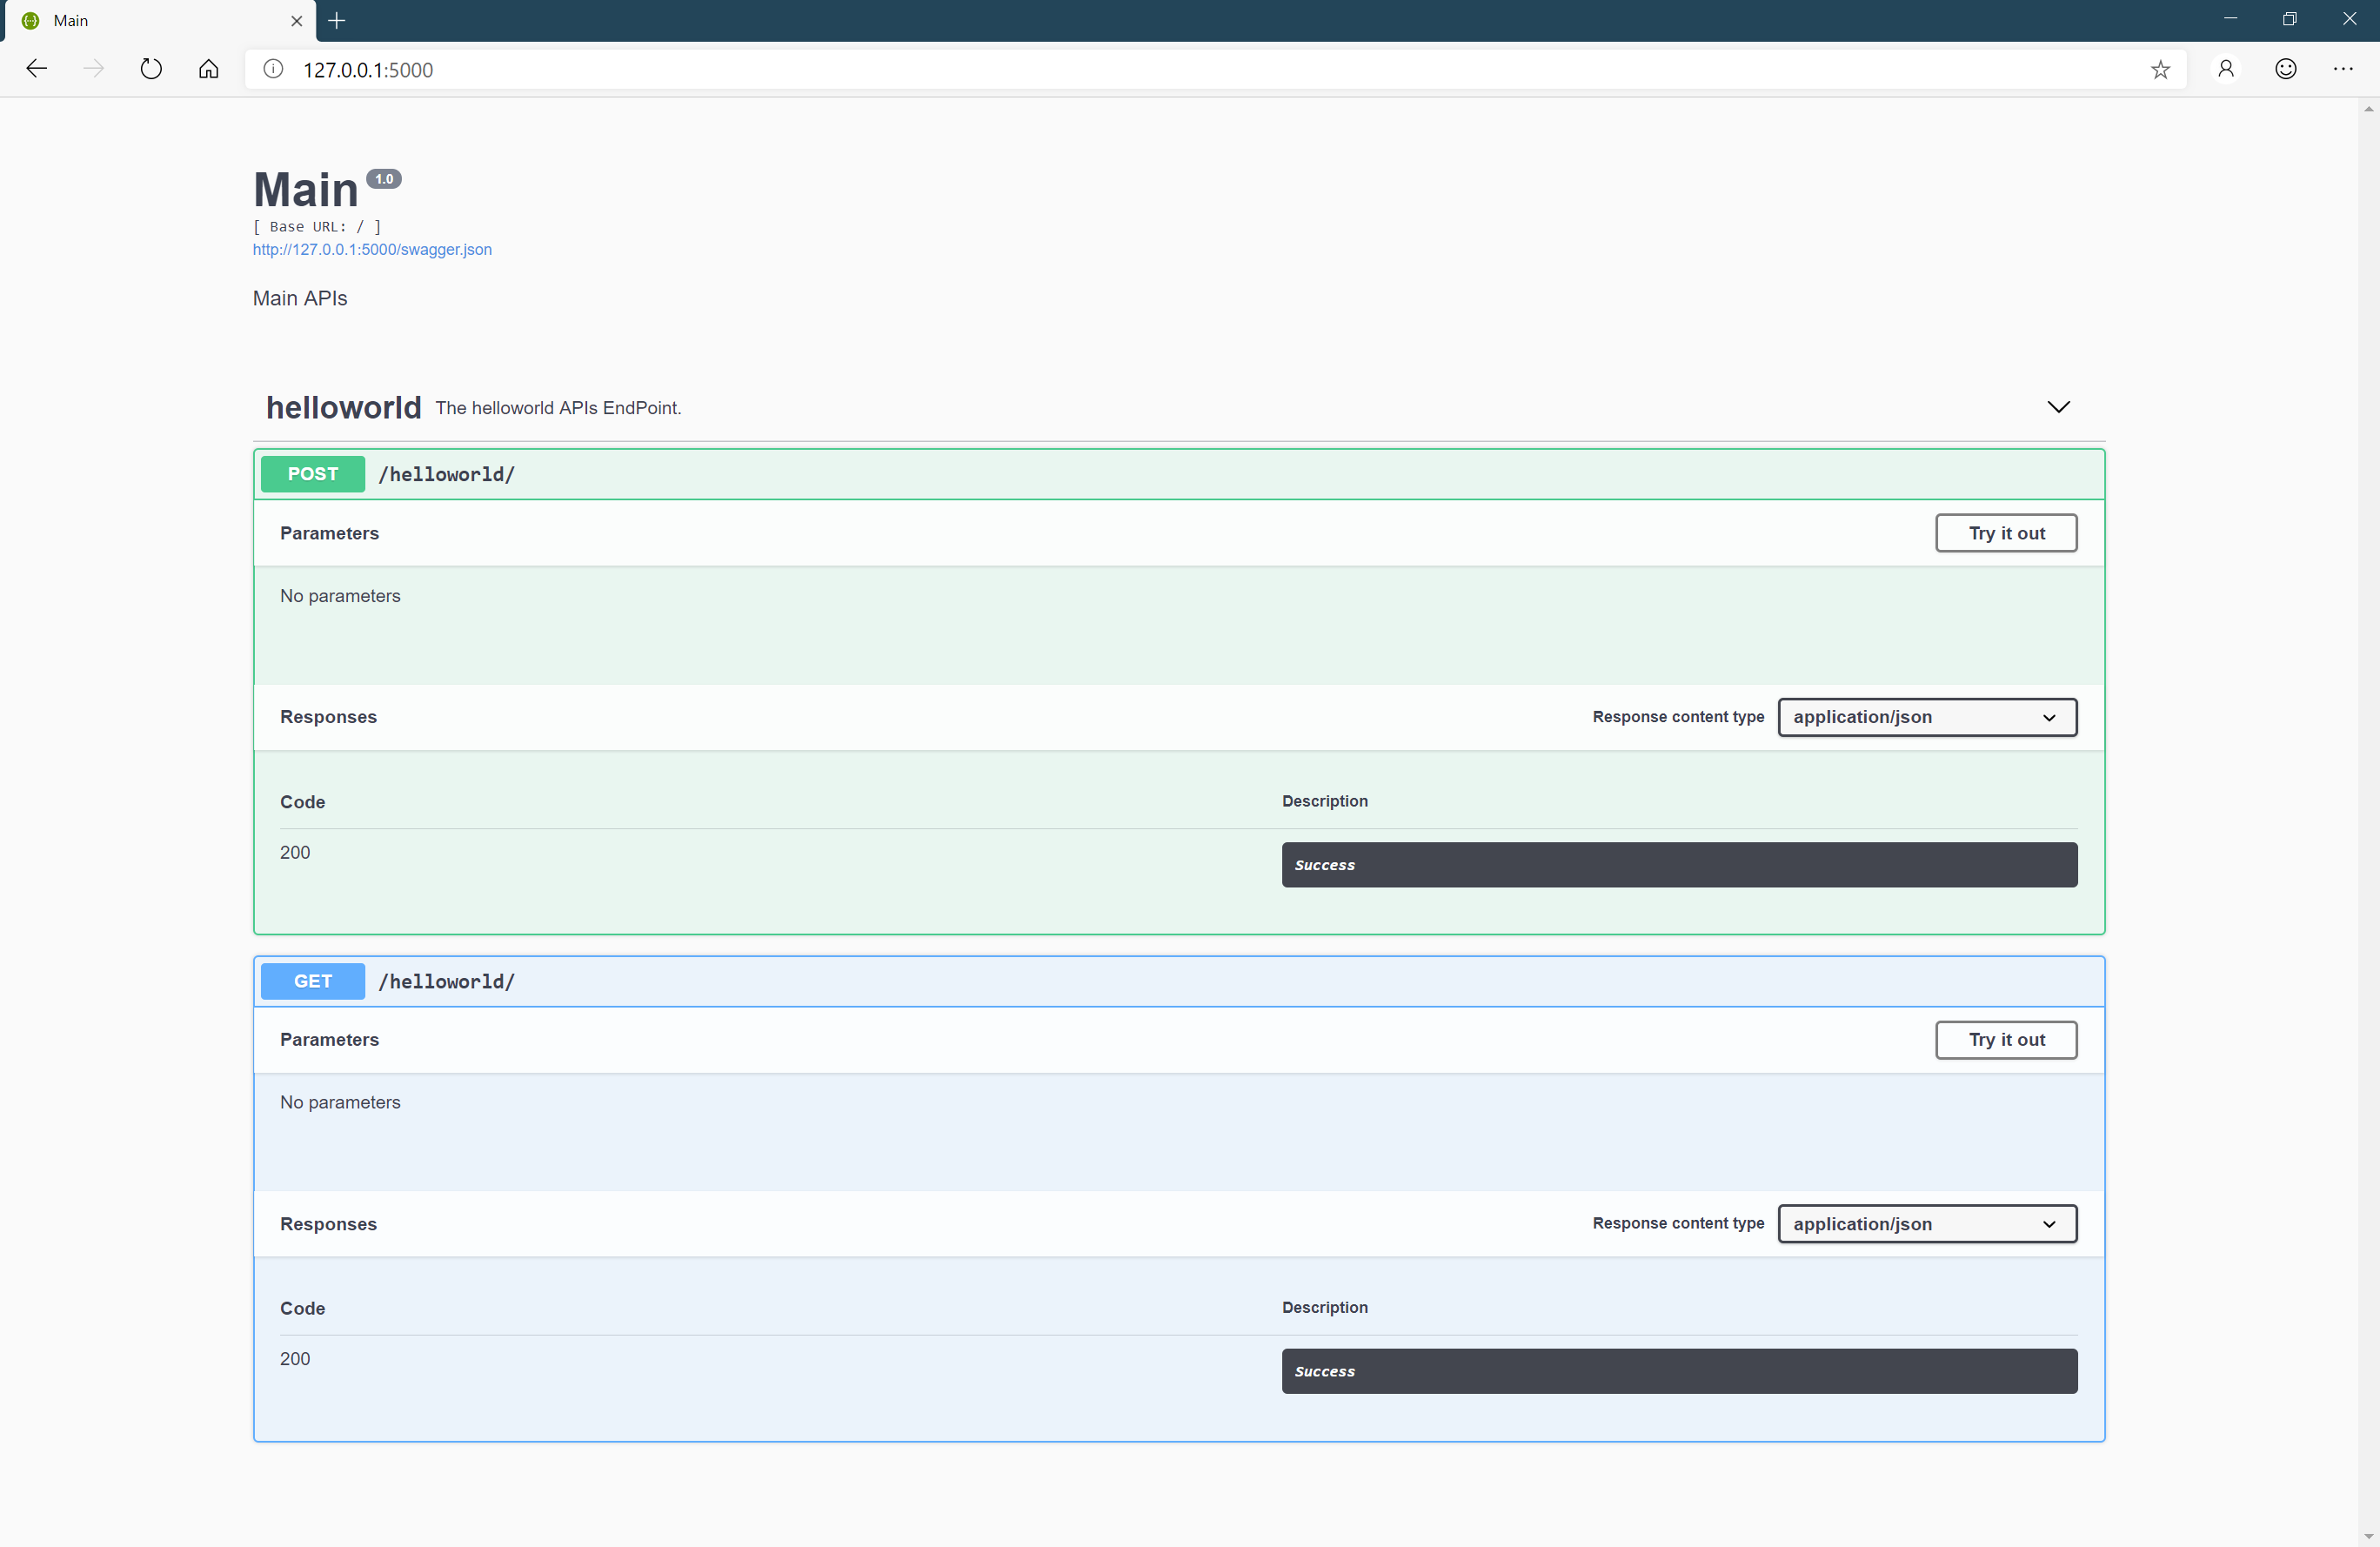
程序运行效果如下图所示:
此时,我们可以通过 Swagger UI 或者 curl 来请求我们上面创建的 一个 get 和 一个 post 请求接口。
参数传递
参数传递,我们只需要将我们的接口定义添加参数配置即可,如下示例代码所示:
@name_space.route('/<int:id>')class HelloWorld(Resource): @api_app.doc(responses={ 200: 'ok', 400: 'not found', 500: 'something is error' }, params={ 'id': 'the task identifier' }) def get(self, id): return { 'status': 'you get a request.', 'id': id } def post(self, id): return { 'status': 'you post a request.' }
运行结构如下图所示:

实体传递
在上述两个示例代码中,我们知道了如何定义 WebAPI 和 参数传递,下面我们摘录一个官方首页的 Todo 示例,来完整展示如何使用:
from flask import Flaskfrom flask_restplus import Api, Resource, fieldsapp = Flask(__name__)api = Api(app, version='1.0', title='TodoMVC API', description='A simple TodoMVC API', )# 配置 API 空间节点ns = api.namespace('todos', description='TODO operations')# 配置接口数据模型(此数据模型是面向对外服务的,在实际项目中应与数据库中的数据模型区分开)todo = api.model('Todo', { 'id': fields.Integer(readOnly=True, description='The task unique identifier'), 'task': fields.String(required=True, description='The task details')})# 定义接口实体class TodoDAO(object): def __init__(self): self.counter = 0 self.todos = [] def get(self, id): for todo in self.todos: if todo['id'] == id: return todo api.abort(404, "Todo {} doesn't exist".format(id)) def create(self, data): todo = data todo['id'] = self.counter = self.counter + 1 self.todos.append(todo) return todo def update(self, id, data): todo = self.get(id) todo.update(data) return todo def delete(self, id): todo = self.get(id) self.todos.remove(todo)# 创建种子数据DAO = TodoDAO()DAO.create({'task': 'Build an API'})DAO.create({'task': '?????'})DAO.create({'task': 'profit!'})# 定义服务接口@ns.route('/')class TodoList(Resource): '''Shows a list of all todos, and lets you POST to add new tasks''' @ns.doc('list_todos') @ns.marshal_list_with(todo) def get(self): '''List all tasks''' return DAO.todos @ns.doc('create_todo') @ns.expect(todo) @ns.marshal_with(todo, code=201) def post(self): '''Create a new task''' return DAO.create(api.payload), 201# 定义服务接口@ns.route('/<int:id>')@ns.response(404, 'Todo not found')@ns.param('id', 'The task identifier')class Todo(Resource): '''Show a single todo item and lets you delete them''' @ns.doc('get_todo') @ns.marshal_with(todo) def get(self, id): '''Fetch a given resource''' return DAO.get(id) @ns.doc('delete_todo') @ns.response(204, 'Todo deleted') def delete(self, id): '''Delete a task given its identifier''' DAO.delete(id) return '', 204 @ns.expect(todo) @ns.marshal_with(todo) def put(self, id): '''Update a task given its identifier''' return DAO.update(id, api.payload)if __name__ == '__main__': app.run(debug=True)
程序运行效果如下图所示:

总结
基于 Flask 而创建 Swagger UI 风格的 WebAPI 包有很多,如
它们都各有各的优缺点,但是就我目前使用情况来说,还是 Flask-RESTPlus 的构建方式我更喜欢一些,所以我就在这里分享一下。
最后的最后,安利一下我个人站点:hippiezhou,里面的 必应壁纸 板块收录了每天的必应壁纸,希望你能喜欢。
项目参考
